
After mocking up a bunch of monster drawings, I drew the six minute animation front to back with pencil on plain printer paper. The whole thing is a study of movement and seeing how many cool morphing transitions I could come up with. Because cels are expensive, I bought in bulk those overhead transparency rolls we used to use in school, the kind that come on 50’ long rolls.

I used a guillotine paper cutter to cut by hand each cel, getting about 40 out of each roll (as you get closer to the centre of the roll they become so tightly wound its super annoying to try and flatten them out). The up sides were the price, if you can even find them anymore they were only a couple bucks a roll and are nice and stiff/ I never had any issues with scratches or scoring or bend marks. The down side being most of them needed to have the corners weighted/ taped down during drawing and painting, and ya like I said, cutting them all by hand, then of course the hole punch as well…. I used a standard punch with a custom lever welded on the side so I could get the force to punch about 10 at once.
“For a light table I bought an old monitor off Craigslist and just put a blank image on it…”
Then because my at the time partner was a welder/ fabricator I had an awesome standard hole peg bar made from a lightweight metal. For a light table I bought an old monitor off Craigslist and just put a blank image on it (this was also super helpful for when I wanted to use reference photos or rotoscope parts of it). I just taped the peg bar right on there and used masking tape as guides.
Thousands of paintings!!!!!!!!!!!!!!!!!!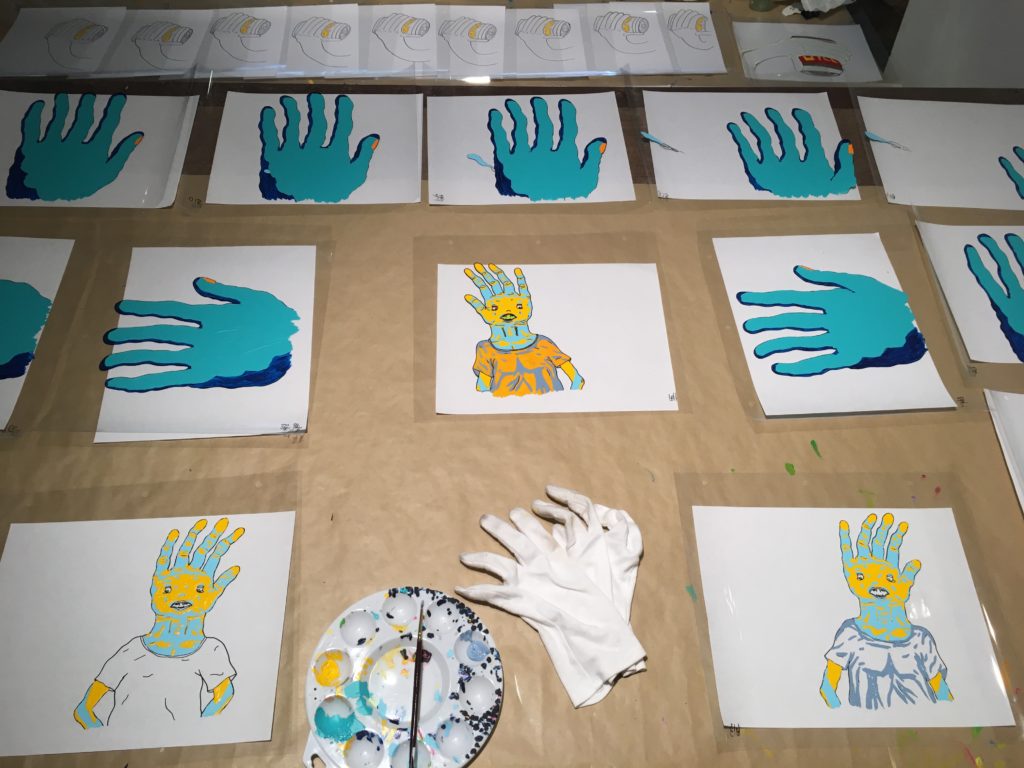
You can check out more of Phoebe’s work on her website, Vimeo or Instagram!
You can learn more ways of working with cels (and “cels”) via Ingo Raschka (whose zine started this whole conversation), DIYAC’s RESULTING writeup, and Anna Firth.
Phoebe Parsons is a 2d animator and film maker from Vancouver, Canada. She went to Emily Carr University and graduated in 2010 with a Undergrad in Media Arts. Since then she has spent a decade working in costumes in the film industry. She works on commissioned animation works as well as personal projects, often grant funded. Phoebe’s inspiration comes from classic 90’s cartoons and the infinite possibilities of motion in animation.
One response to “Making It Up As I Go Along: Phoebe Parsons on the “Terror Fervor” Process”
[…] Parsons has written up her cel animation process (using overhead transparency film), and shared a studio tou…, right here on DIY Animation […]